Showing posts with label laminate flooring. Show all posts

Poseidon's Post: My Room

Thursday, February 27, 2014

Poseidon is our chipin (Chihuahua/ Minuature Pinscher mix). Since he’s a big part of our household he likes to give an update on his life every now and then. 


So parents have gone on and on about their new floors. Personally I wasn't as excited as my mom. I had to spend a lot of time outside or upstairs away from the dust because my mom said she didn't want my little lungs to inhale any dust. But really she did not like my dusty paw prints on the bed. 

The best part of the whole ordeal was when the floors were done and I could once again the roam the house. The second best part was that my room got a mini makeover. Yes, you read that correctly I have my own room. Laugh if you want but I'm an only child. I know I'm totally spoiled. 

Anyway it's not really a whole room. The area under the stairs is open so my parents stuck my downstairs bed, toys and food dishes there. My mom said my stuff is not decoration and doesn't have to be out in the open so she stuck all my stuff there. The couch blocks the entrance except for a tiny Poseidon sized gap so it is actually pretty private. My mom also added some wall art because that's what she does. 


Pretty cool right? 

Baseboards, Nosing & Thresholds

Monday, February 24, 2014

Check out our finished floors!


It's been about three months since I posted anything. I don't really have an excuse. We haven't been busy redoing our kitchen or away on a fabulous vacation. I took a little blogging break but I'm back and I'll be posting about stuff that happened months ago. Better late than never right?

Back in December I shared our flooring progress. Even though we finally had gotten around to actually laying down the floors we still had work to do. As much as Jonathan and I both wished that laying the actual flooring down would have been the whole project it wasn't. We still needed to install baseboards, stair nosing and thresholds.

In same ways this was the more diffcult part. First of all, choosing our baseboards was really hard. We wanted to get some that were on the taller side to cover up the damage our leaky fridge caused. There are so many options and I was having a hard time visualizing how it would all turn out. Once I picked them out we had to get them home. Neither one of us has a car big enough to fit them (they are 16 feet long) so we had to borrow my dad's. Jon and I also liked the look of a thicker baseboard. Baseboards only come in certain measurements so to create the effect we decided to add quarter round in front. Then everything had to painted and obviously it didn't just need one coat.

After all the prep work was done Jon could start measuring, cutting and nailing everything in. Since we had only purchased a little bit more than we needed he had to be really careful with his cuts. Jon and my brother went around the room installing the baseboards. My mom and I followed with caulk to cover all the nail holes and to fill the gaps along the top and at the corners. Then we did the same thing with quarter round. This part probably would have taken us forever to accomplished if we hadn't borrowed a nail gun and air compressor.


We did all of that the weekend before Thanksgiving. Since we were getting ready to host (for the first time!) we had to get it all done before our guests arrived. So we were up super late every night that week. And we still weren't done.

Our living room has a little step down and Jon decided to install nosing there. First he had to cut, line and adhere the laminate pieces against the step. Then he could proceed with the nosing. It looks like the curved part of a stair tread and had to be glued down. This meant we had to be sure the flooring we had laid down was perfectly aligned on both edges of the step. If it wasn't done right then the nosing would be off. Jon cut it, applied tons of glue and laid it down carefully. Then we held it place trying to move it move it at all. This took forever since we had to work in sections.


You can also see the threshold pieces Jon installed in between the living room and kitchen. That part was pretty easy. He cut them to size and pushed them. He added a little bit of adhesive to prevent them from lifting up.

We went to bed at 3am that night (Wednesday night/ Thanksgiving morning). Jon got up early Thanksgiving morning to finish installing one section of baseboard and then started on the turkey. It was a mad dash to the finish line but it so worth it. My mom came over to help to me clean and remove all the dust and we finished with just enough time to serve dinner.

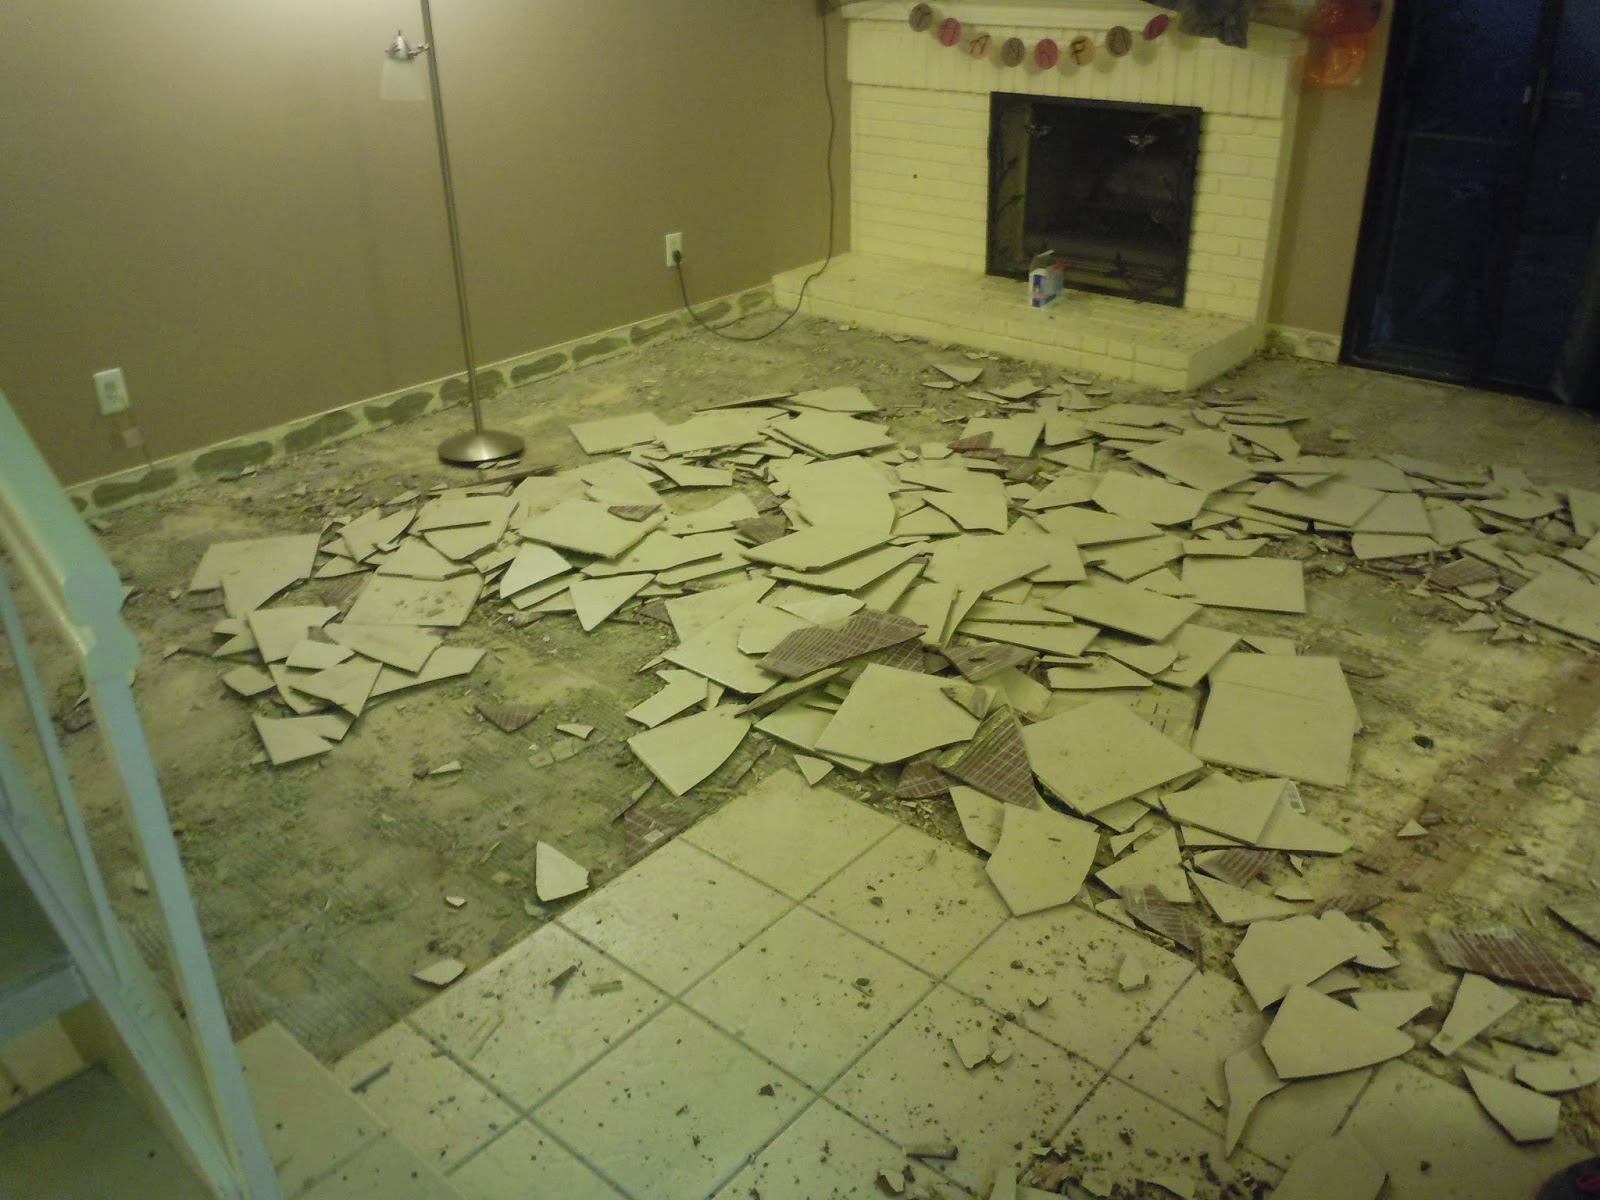
Looking back we probably should have started this project a little bit earlier but I'm so glad we had them done in time. Our home looks so much more warm and inviting. Such an improvement over the old white tile.


Laying Laminate

Wednesday, December 18, 2013

Finally some FLOORS!!!!!


Okay, so it's not the best photo in the world but that's because all the pictures we took with our camera came out spotted. We think the dust got on the lens and unfortunately it took us a few days to completely clean it. Plus I think the floors are still dirty in this photo. When they're clean you can appreciate the red undertones so much more. 

You can read about the demolition, dust and water leak we had to deal with before actually getting to start the floor.

Before we could lay any of the laminate planks down we had to put down the underlayment first. The underlayment goes in between the concrete subfloor and the planks. It acts a sound and vapor barrier. The sound part is important because it absorbs some of the noise when you walk it (no creaks) and when you drop stuff. After looking at a ton of options we opted to get some Dreamwalk stuff from Lumber Liquidators. 


Jonathan rolled out the underlayment and cut it to fit across the length of our living and dining rooms. He used plain old duct tape to bind the rows together. You wouldn't think it but this part actually took a few hours.

Once that was done Jonathan was able finally lay the very first part of our new floors! 


The laminate came in individual planks that had tongue and grooves so you could snap them into place. Any planks that were going to be on the perimeter had to have the the tongue and grooves part that were sticking out cut off. Jonathan also had to place spacers around the perimeter. This gap was later covered up by our new baseboards. That space allows that floor to expand and contract with the weather. 

Jonathan also had to cut some of the planks so that it would be either a third or two thirds of the original length. Visually this gives the floor a staggered look that all hardwood and faux hardwood floors have but it is also important structurally to keep the planks as close together as possible. The tongue and groove makes it easy to attach the planks but you still have to use a mallet to get the pieces in flush. 

Jonathan worked his way across the room...


And pretty soon we were almost done! Once again- we = Jonathan. I did help by passing him planks and running out to get food. That's important right? I did try to help but Jonathan wouldn't let me since he "had to review all of my work" and he'd "feel better" doing it himself so he could "be sure it was done right." 

Finally we had the last piece of laminate to install!


Success!


We were finally able to move our couch back in. 


In a temporary place anyway. Our first floor is separated into two spaces since there is a small step at the entryway. Jon was able to finish laying the flooring on the larger space (living and dining areas) but we decided to save the entryway area for the following weekend. This meant that dust was still flying around and getting everywhere. We saw a lot of paw prints that week. 


Small price to pay for such pretty floors. Wait until you see it with the baseboards!

Water In The Wall

Friday, December 13, 2013

So after we spent a weekend removing tile and grout from our dining and living room (here and here) I came home to this.


At first I thought Poseidon couldn't wait until we got home and had an accident (so sorry little buddy!). Upon closer inspection I realized that it was water damage and it was coming from the wall. Great (please note the sarcastic tone). Isn't that what everyone wants to home to? 

Once Jon got home he started to investigate. On the other side of that wall is our fridge. Jonathan pulled out the fridge out of its little nook and found the source of the leak. The water line back there had a hole in it and caused a watery mess back there.


He decided just to disconnect the water line and allow it dry overnight. We figured that once it dried out a bit back there we could see what the real damage was. The next evening it seemed a lot better and Jonathan said that the damage wasn't too bad. We don't think it was leaking for too long back there. Good thing I really wanted new floors! Otherwise who knows how long that would have stayed back there. We did have to leave the fridge pulled out into the middle of the kitchen for a few days. See it behind me?


But it wasn't nearly as bad as we first thought. Jon still had to repair the wall with some wall mud stuff but our new baseboards ended up covering where the damage had been. Apart from the patch job the worst part was living with the refrigerator in the middle of the kitchen. As you can tell from the photo above it was a tight squeeze getting in and out of the kitchen but it's a small price to pay when you think of how bad it could have been.

Luckily this mini crisis didn't delay our flooring project and we were still able to proceed with laying the floors the following weekend!


The Dust Bowl

Tuesday, December 10, 2013

On Monday I showed you guys our efforts from the first day of floor remolding project.


Yup, that's what we woke up to on Sunday. I had gone to Home Depot the previous evening to buy those big bags of trash bags (the ones that open up . Unfortunately they didn't have any so I had to settle for some big heavy duty trash bags.

As soon as I got up on Sunday I started to clean up. At first I just started putting big pieces into our trash can but that got full really fast. And it was super heavy. We had a couple of big boxes in our garage so I filled those up. There was still a ton of tile! Next I tried to use the trash bags. That didn't work out well since all the jagged long pieces poked holes in the bags. Tile is really heavy so I could only fill up the bags part of the way. In the end I broke up every tile square with hammer and gathered all the tiny pieces into the trash bags. It took forever.


Once we got all the fragments cleaned up we had to remove all the grout that was still stuck to the floor.  According to Jon this was a really important part of the project because we wanted all of our floors to be level when we were done. Always one for the details Jonathan wanted to absolutely sure the grout was gone.


My brother and mother came over to help us and between the four of us we started to remove the grout by hand. We had two scraper things and a two sets of hammer and chisels that we all took turns using. It was exhausting work. We were wiped out. I don't think my arms have ever hurt so bad. And we didn't really make that much progress. The only room we were able to completely de-grout- ify (yes, that's a real word) is the dining room.

The next day (it was Veteran's Day weekend) we decided to see if there was any liquid hat we could use to soften up the grout. Jon called Home Depot and to our shock and joy they did! He drove down to get some only to find out the person on the phone lied to us. Cruel, cruel lies.

Not wanting to come home empty handed Jonathan rented a huge power orbital sander. BEST TOOL EVER.


It allowed us to sand away the grout and left us with the smooth finish of the original concrete. My mom and I followed him around keep the cord out of his and sweeping up the super fine sand left behind. See the circles of the machine?


See how much sand was left behind? 


We had all the windows open and our fans on exhaust to help to get rid of the dust.


 We also wore googles and masks...


 but still dust got everywhere! In our ears, nose (so gross) and hair.


And that was our long weekend. Demo and dust. Dust everywhere. All of our furniture in the garage. A kitchen closed off by plastic tarps. Our house looked like a tornado had hit. And since the weekend was over we had to leave it until the next weekend. 


Demolition Derby

Monday, December 9, 2013

Remember how nice and fall-y our house looked? Well a few days after those photos were taken our house looked like this...


Yup, Jon and I tackled our floors in November. When I say November I mean all of November. Every single weekend. In case you guys haven't noticed my blog posts have been pretty infrequent. At first it was the jet lag and getting back into the swing of things after such a long vacation (hard life, I know). I kinda got back into the groove but then we decided to redo our floors and temporarily turned our home (and lives) upside down. 

Its no secret I hated our tile floors. I'm pretty sure I've told everyone I know how much I loathe tile. Thanks to my annual bonus and some back pay from my promotion way back in July we had some extra cash. Normally that would be my Black Friday money (don't judge me, I love a deal) but this year I told Jon I wanted to put that money towards new floors. Luckily he agreed (he's the best husband... truly) and thus we went floor shopping.

If this was our forever home I think we would have saved up a bit more for hardwood but after doing some research we decided on laminate flooring. It looks just as pretty as hardwood (I think so anyway), can handle Poseidon's nails, is easy to install and it was in our price range. I chose a darker, reddish tone color that I got on super sale at Lumber Liquidators and while I went to pick it up Jonathan got started on tearing up the tile.

Check out a messy before.


And once the demolition derby started.


Jonathan (and a friend) used a chisel and hammer to tear up most of it. Tile and grout make a HUGE mess. There was dust everywhere. All of the furniture was placed in our garage and we taped off the kitchen was plastic tarps.


They had to wear masks over our nose and mouths because we're pretty sure it is not a good idea to breathe in all that dust. Jonathan also opened all the windows and we placed fans around the room to try to push out the dust.

You can tell but the lighting that this process took all day. Since we didn't have any heavy duty trash bags we just left the mess downstairs. Out of sight, out of mind... until the next morning.