Showing posts with label Halloween. Show all posts

A Witch, Bat & Walter White

Monday, November 18, 2013

Check out the Stubblefields on Halloween 2013!


I was a witch (with Minnie Mouse ears), Poseidon was a bat and Jonathan was Walter White from Breaking Bad. Obviously Jonathan's costume was the best. He came in second place at his office costume contest and even grew out his mustache. Way to commit babe!


I may have gone overboard with Poseidon's Halloween attire. He was rocking his pumpkin shirt leading up to the holiday (you know,  just to get into the spooky spirit). He also had his costume. They were a pair of bat wings attached to a harness. They moved up and down as he ran around. And of course he had his post Halloween shirt. 


My cousin and her husband had a Halloween dinner for the family. We had terrifying tacos for dinner and for dessert we had peach schnapps jello that came in the form of a brain. 


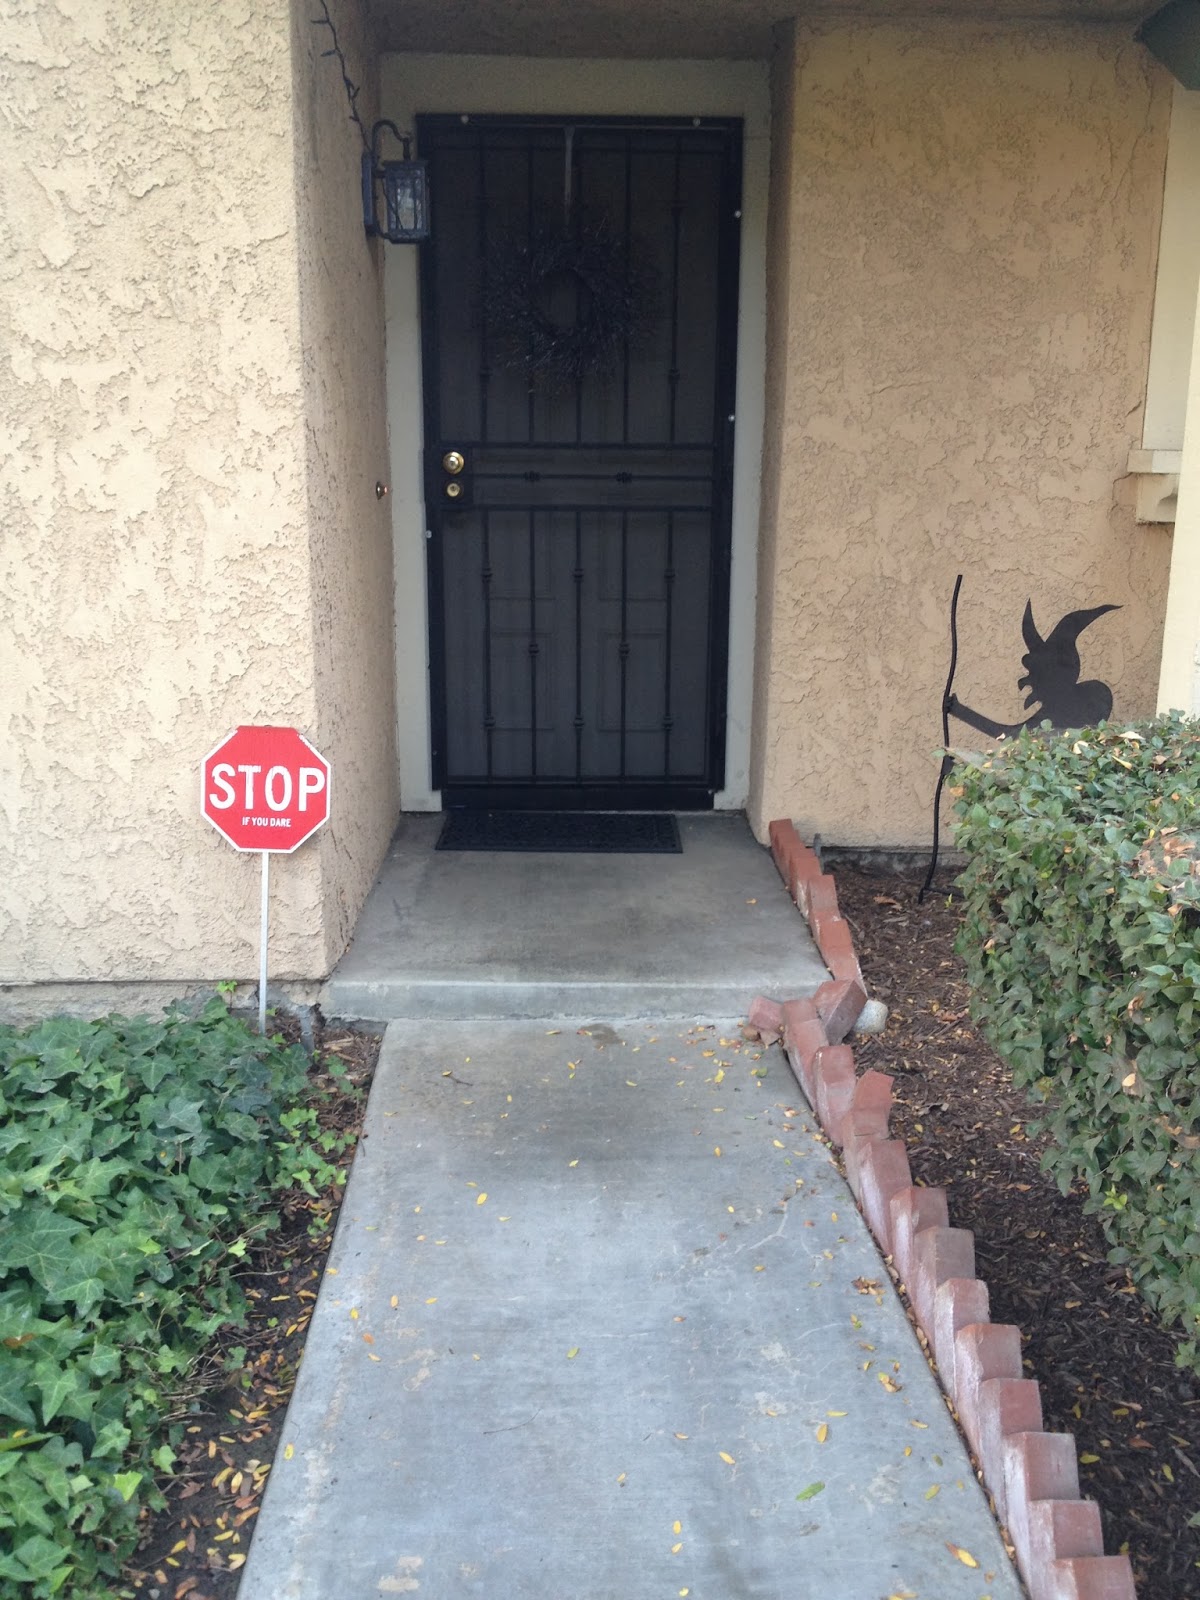
Since Halloween is my cousin's favorite holiday her and her husband go allll out making a haunted house. We were just on hand to help give out candy and to admire their hard work! They hung body parts on the porch, added some red lights and a fog machine. 


They had a crazy skeleton driving a car. This was actually very popular amongst the Trick-or-Treaters and some people even posed with the skeleton. 


There was also a huge spider web with a gigantic spider but I didn't get a photo. Obviously its my cousin's favorite holiday and I'm really excited to see what she'll do next year since Halloween falls on a Friday! Poseidon just asks that I chose a less embarrassing costume. 


A Halloweenie House

Thursday, October 24, 2013

We are Halloween ready!

We actually started decorating out house for Halloween right after Labor Day. I put off posting this because I meant to add more stuff but as our vacation got closer I got too busy. There's always next year.

First Jonathan put up lights upside. We already had the nails that we had used last year for our Christmas lights. Jon just strung up these purple ones in a zigzag fashion.


We added some ghost lights above our kitchen window.


The "haunt" jars are on the ledge below. We want to add a pumpkin next to them but we've been waiting until it gets closer to Halloween. Last year our pumpkin did not survive for very long. Sorry I don't have a photo!

We have the little stop sign I crafted on the sidewalk in front our house.


And a black witch right next to our front door. My favorite part is that she looks like a shadow which makes her so much more frightening. You know, for a fake witch. 


I hung sparkly black wreath on the front door. It has lights and I use to turn them on but somehow the battery pack fell off.


On the inside of the door is a ghost and pumpkin wreath. I think its a bit too small for the space so maybe next year I'll add some deco mesh around it.


Inside we swapped out our table runner for a spiderweb one. I moved the candlesticks from the console table and used a cake stand to display a glittery pumpkin I got at Ross for $3.39! We added fake spiderwebs and spiders since the runner didn't make it spooky enough.


We also hung some fake spiders in the big window by our stairs. My brother helped me string those up with some curling ribbon.


In an ideal world I'd add some deco mesh ribbon and lights around the front door. I'd also decorate the mantle above the fireplace and our staircase. At least Poseidon is decorated!


p.s. Don't worry- he totally has a costume. This is just to get into the Halloween spirit. 


Stop If You Dare

Monday, September 16, 2013

This is the easiest and cheapest craft I've done.


It all started when I spotted this witch at HomeGoods. She was only $20 and has four metal prongs that allow you to stick her in the dirt.


When Jon and I tried to stick her right outside our door we had to move one of the alarm adverting stakes to accommodate her. We didn't really know what to do with it so we left it on the ground. I actually thought I could it for a Christmas decoration but the universe had other plans.


A few weeks later we were at Target in the dollar section perusing the Halloween goodies when I spotted this sign. Thank you Halloween spirits for sending this my way!


After letting sit on the counter for a week (typical) I decided it was time to get my craft on. I washed the stake off and wiped it dry. Then I liberally applied some tacky glue to the front of the preexisting sign and carefully centered the new one over it.

I did try to use my glue gun at first but that really didn't work out so I used the tacky glue. I weighed it down with some old bookends and let it dry.


Once it was dry Jon stuck in the ground on the opposite side from the witch. I didn't get a good photo of it outside since it was already dark but you get the idea.

One more time, side by side.


 Annnnnnd we're done!

Haunted Mason Jars

Friday, September 6, 2013

Today I got my Fall craft on.


Yes, I know its still feels like summer outside! But if stores already have Christmas stuff on display then its not its  not too early for fall stuff... right? Labor Day is kind of the unofficial official end of Summer anyway. Fine! I know its early but I can't help that I'm excited for the holiday season. 

I digress, back to the Mason jars. Since its still too early for Christmas decorations I've been focusing on fall decorations. I wanted to make some sort of Halloweeny craft with candles. After scouring Pinterest and blogland I decided to take some old spaghetti jars and paint them. All I did was take a some basic craft paint and painted the inside of jars. Its pretty simple. You just drop some paint into the jar and roll it around. Once its completely covered you flip it upside down so the excess paint can drain out. 

I didn't do a good job with the paint in the jars on purpose because I wanted to look old and cracked to go with the Halloween theme. Once it was dry, I took a black paint pen and outlined "haunt" on the jars. Then I placed some tea lights inside and light them up!


Only to find out that the effect I was going for with the paint didn't turn out as I expected. Ugh. Its frustrating but its an easy fix. So I added more paint and the jars are dying as I type...